AIDA Capture Lab

AIDA Capture Lab is a service of AIDA - Netwerk Digitaal Preserveren, operated by meemoo
Imation SuperDisk
Hardware
SuperDisk drive
| Model | Imation SuperDisk USB drive |
|---|---|
| Media | SuperDisk LS-120 3.5 inch IBM formatted double density floppy disk 3.5 inch HD floppy disk |
| Interface | IDE |
| Connector | IDE 40 pins |
| Cable | IDE to USB adapter cable |
| Workstation connection | Can be connected directly with write blocker via IDE USB adapter cable |
| Power | Molex connector |
| Documentation | manual |
Write blocker
| Model | Tableau Forensic USB 3.0 Bridge T8U 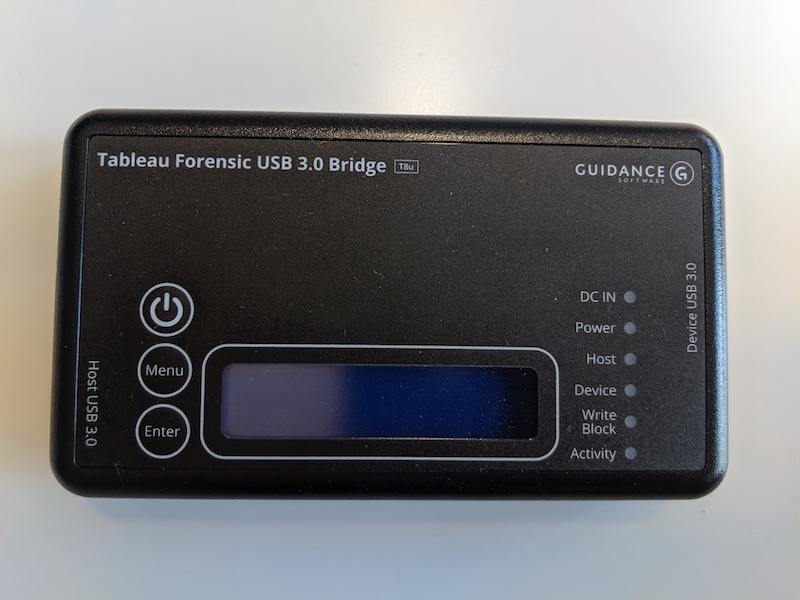 |
|---|---|
| Media | Drives with USB (3.0 and older) connectors |
| Interface | USB |
| Connector | USB 3.0 |
| Cable | USB type B to USB type A 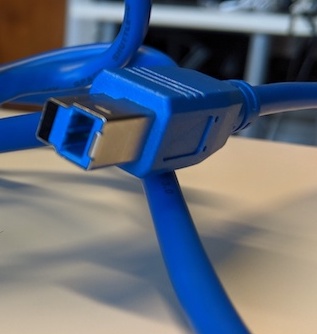 |
| Workstation connection | Can be connected directly with workstation (which has a USB type A female connection |
| Power | DC input: 5-pin Mini-DIN connector 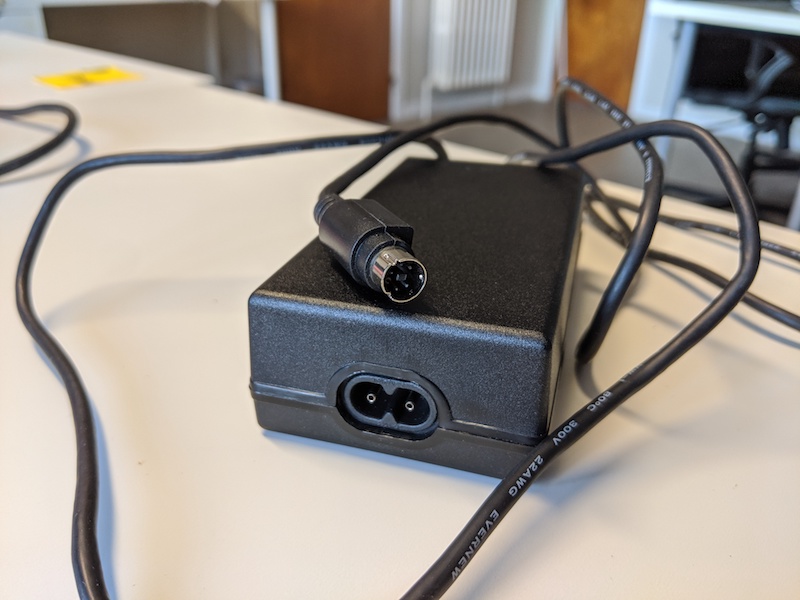 |
| Documentation | user guide |
Workstation
A Linux computer, preferably running the Bitcurator Environment (We use a Dell XPS)
Software
Guymager in the Bitcurator Environment
Workflow
Step 1: Connect the write blocker to the workstation
- Connect the write blocker to the workstation using the blue USB 3.0 cable (Host USB 3.0)
- Connect the DC power supply to the write blocker (bottom)
- Plug the power cable into a power socket
- Press the power button on the write blocker
Step 2: Connect the SuperDisk drive to the write blocker
- Connect the SuperDisk Drive to the write blocker using the USB cable (Device USB 3.0)
- Connect the DC power supply to the SuperDisk Drive
- Plug the power cable into a power socket
Step 3: Prepare the disk
- Take a SuperDisk.
- Slide the switch on the disk bringing it in read-only state. Look for a tiny black sliding tab in a square hole in the disk’s lower left corner. Slide the tab with a pencil or your thubmnail so that the hole is uncovered.
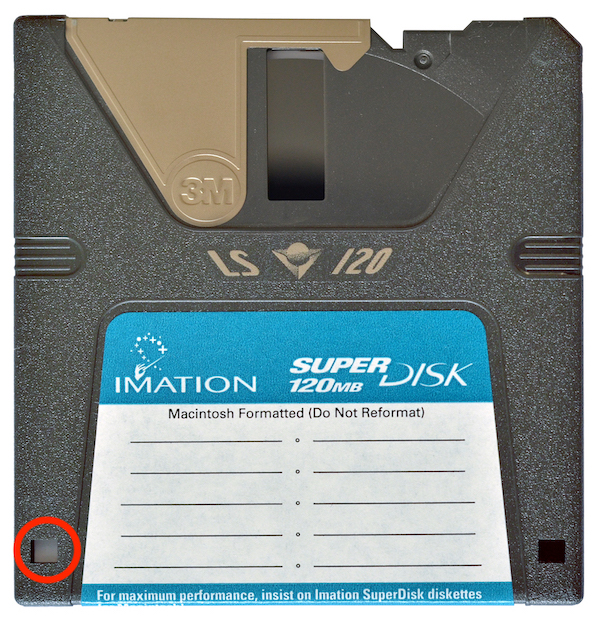 CC BY-SA 4.0 Amada44
Step 4: Create a disk image
- Insert the SuperDisk in the SuperDisk Drive
- Create a disk image using Guymager
Step 5: Eject the disk
- Press on the button of the SuperDisk Drive to eject the disk
- If that doesn’t work:
- Go to the workstation and open a file explorer window
- Right click on the device in the left navigation sidebar
- Select eject
- Press again on the button of the floppy drive
- If that doesn’t work either:
- Power off the write blocker
- Power on the write blocker
- Immediately press on the button of the SuperDisk drive to eject the SuperDisk.