AIDA Capture Lab

AIDA Capture Lab is a service of AIDA - Netwerk Digitaal Preserveren, operated by meemoo
Safely copy files from disks usings Grsync
Grsync is a GUI alternative for rsync. Just like rsync, Grsync uses checksums to verify if copied files are identical to their source. rsync is a differential backup and file synchronization tool widely used in Unix-like operation systems (wikipedia)
Installation
Grsync is included in the Bitcurator environment. You can also easily install it on Debian/Ubuntu computers by using following commands:
sudo apt update
sudo apt install grsync
Workflow
If you’re familiar with the command line and rsync, you can also use rsync. Remind to use the archive function via rsync -a.
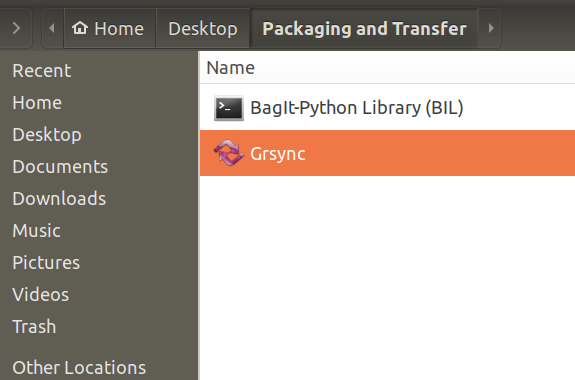
- Start Grsync You will find Grsync in the Applications tab undere Packaging and Transfer
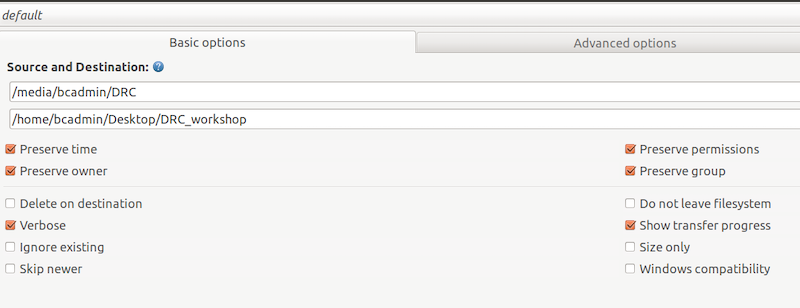
- Define the Source and Destination under the basic options tab
- in the first field the path to the source data is expected. Use ‘Open’ to navigate to the hard drive. You’ll find the mounted hard drive under
/media/bcadmin/[name-of-hard-drive](only when you’re using bitcurator). - in the second field, enter the path to the location where the data should be copied.
- next, check at least following options: Preserve Time, Preserve Owner,Preserve Permissions, Show Transfer progress. This options take care that the original metadata of the files will be copied to the destination.
- in the first field the path to the source data is expected. Use ‘Open’ to navigate to the hard drive. You’ll find the mounted hard drive under
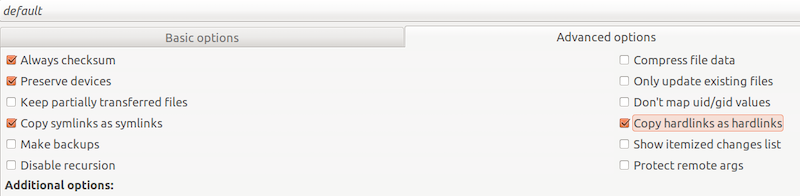
- In the Advanced options menu, check following options: Always Checksum, Preserve Devices, Copy simlinks as simlinks and Copy hardlinks as hardlinks. These options also take care that the original metadata is copied and make sure that each copied file is identical to its source.
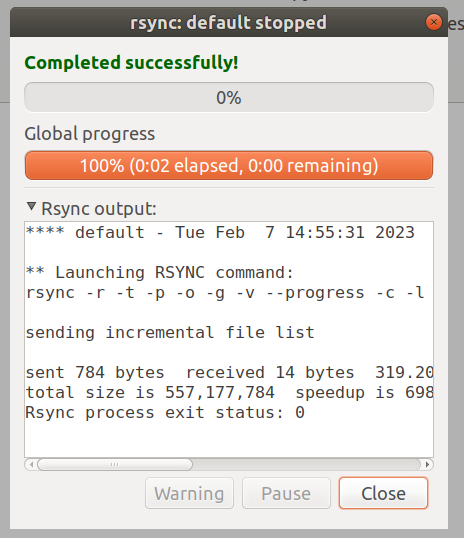
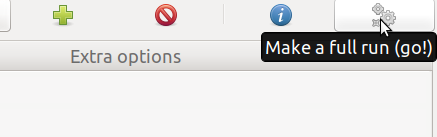
- Start the transfer by pressing the button with the gear icons in the top right of Grsync.
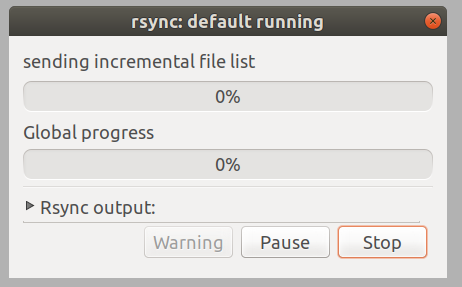
- All files are copied.